Acrylic is widely used in various industries due to its versatility and aesthetic appeal. However, machining acrylic poses challenges, particularly avoiding damage like melting or cracking at the edges. Understanding how to machine acrylic without melting or cracking the edges is crucial for achieving high-quality finishes. According to industry reports, improper machining can lead to increased material waste, with around 30% of acrylic sheets discarded due to defects.
Machining acrylic requires precise techniques to maintain its integrity. Experts recommend using sharp tools and exploring the right feed rates and spindle speeds. Research indicates that lower speeds and careful handling can reduce heat buildup, a leading cause of edge deformation. Despite this knowledge, many manufacturers still face difficulties, leading to inconsistent results and costly errors.
Addressing these issues is paramount for businesses relying on acrylic. The right approach enhances productivity while minimizing waste. As more companies adopt acrylic, mastering the machining process becomes essential. The challenge lies not only in technique but also in the careful planning of each machining project. Fostering a deeper understanding of how to machine acrylic without melting or cracking the edges will pave the way for better manufacturing outcomes.
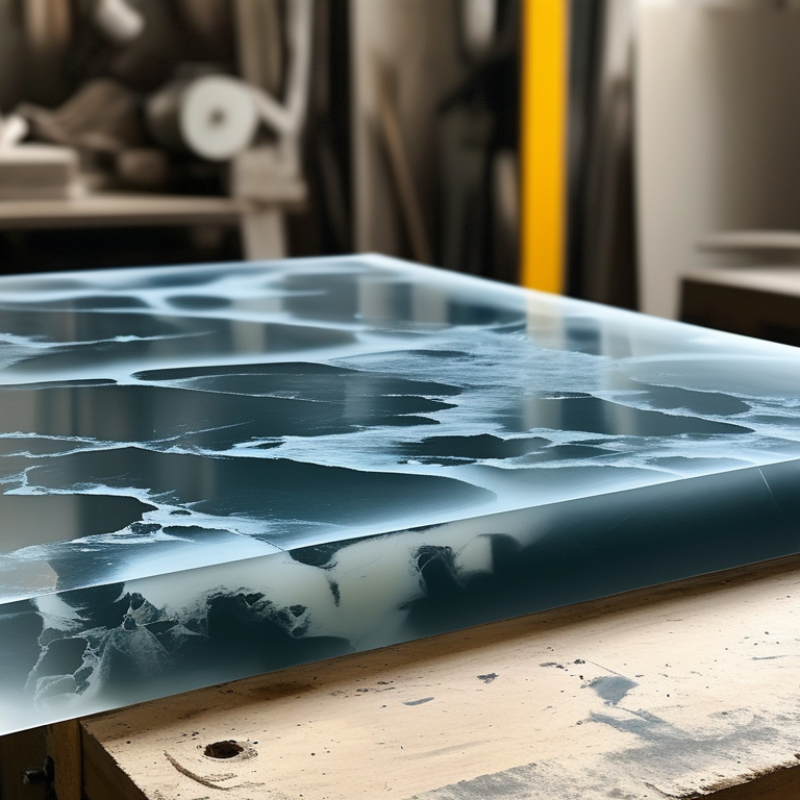
When selecting acrylic for your project, the type of acrylic material can significantly impact your final result. There are many variations, such as cast acrylic and extruded acrylic. Cast acrylic, often preferred for its clarity and resistance to scratching, tends to be more expensive. Research shows that it is less likely to crack during machining processes. In contrast, extruded acrylic is less costly but may exhibit greater thermal expansion, leading to challenges during machining.
The thickness of the acrylic also matters. Reports indicate that thicker sheets are less prone to melting or cracking. Ideally, choose a thickness that allows for easy handling without sacrificing durability. Testing a small sample before committing to large sheets can provide insights into how the material will behave during cutting or drilling. Many industry professionals recommend using coolants or slower feed rates to minimize heat buildup.
Understanding the properties of the acrylic you choose can improve outcomes, but it's essential to consider your specific application. Mistakes can happen, even among experienced machinists, particularly if they underestimate the material's quirks. Reflecting on past errors can guide better decision-making in future projects. Overall, careful selection and machining techniques are critical for achieving the best results with acrylic.
| Acrylic Type | Thickness (mm) | Best Machining Method | Recommended Tool | Cooling Technique |
|---|---|---|---|---|
| Extruded Acrylic | 3-10 mm | Routing | High-Speed Router Bit | Water Mist |
| Cast Acrylic | 2-15 mm | Laser Cutting | CO2 Laser | Air Cooling |
| Impact Modified Acrylic | 5-20 mm | CNC Machining | Solid Carbide End Mill | Coolant Spray |
| Colored Acrylic | 3-12 mm | Sawing | Fine Tooth Blade | Air Flow |
| Clear Acrylic | 5-10 mm | Drilling | Spiral Drill Bit | Constant Water Flow |
: Cast acrylic is preferred for its clarity and resistance to scratching.
Thicker sheets are less prone to melting or cracking and are easier to handle.
Using coolants and maintaining slower feed rates are effective strategies.
A router with a sharp bit and a laser cutter are critical for clean cuts.
Excessive pressure can lead to cracks; proper speed and technique are crucial.
A feed rate of 6 to 12 inches per minute helps prevent overheating and damage.
Sanding with fine-grit paper and polishing with appropriate compounds can create smooth edges.
Analyzing mistakes can guide better techniques in future projects.
Miscalculations can lead to burned edges on the acrylic.
Reflect on the flaws and use them as learning opportunities for improvement.
When learning how to machine acrylic without melting or cracking the edges, it's essential to start with the right acrylic material suited for your specific project. Choosing high-quality acrylic can significantly reduce the likelihood of damage during machining. Next, having the appropriate tools is crucial; utilizing sharp blades and the right router bits ensures cleaner cuts and minimizes stress on the material.
Setting optimal machine parameters, such as feed rate and spindle speed, plays a vital role in preventing melting during the machining process. Additionally, employing techniques such as cooling the material or using suitable cutting fluids can help maintain lower temperatures. Finally, post-processing tips, like sanding with finer grit paper and polishing edges, will enhance the final appearance of your acrylic project, ensuring clean, attractive edges. By following these guidelines, you can successfully achieve your desired outcomes while machining acrylic.

 Tier Tool